
A Real-Food Twist on a Classic Treat
If you’ve ever looked at the back of a store-bought bag of marshmallows, you know they are usually loaded with high fructose corn syrup, artificial flavors, and preservatives. But making your own marshmallows at home is surprisingly simple—and so much better for you too.
These homemade marshmallows are soft, pillowy, and made without a drop of corn syrup. Another big swap for me if swapping out the regular gelatin for Grass Fed Beef Gelatin (I promise you can’t taste anything weird and if gives you some protein too).
NTP Real-Food Tip: Why Quality Gelatin Matters
As a Nutritional Therapy Practitioner, I love finding simple ways to incorporate nutrient-dense, functional ingredients into everyday life. Grass-fed beef gelatin isn’t just what gives these marshmallows their bouncy, cloud-like texture—it’s also wonderfully supportive for gut lining integrity, joint health, and digestion.
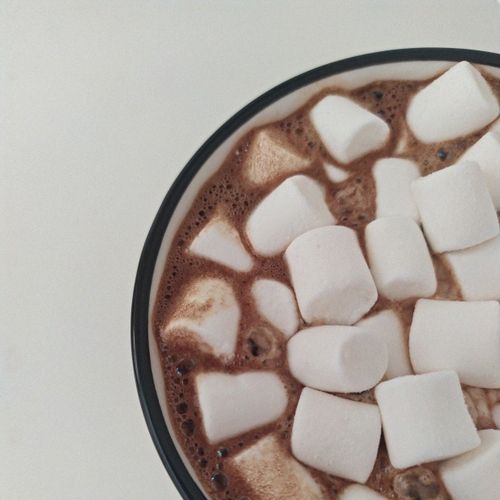
Enjoy these as a fun weekend kitchen project, float them in a mug of warm dairy-free hot cocoa, or keep them on hand for a sweet topping for smores.
Easy Marshmallows (No Corn Syrup)
Equipment
- 1 Candy Thermometer
Ingredients
- 2 tbsp Grass Fed Beef Gelatin (unflavored) I use Great Lakes Wellness
- 1 1/2 cups Cool Water (divided)
- 1 1/2 cups Granulated Cane Sugar
- 1/2 cup Arrowroot/Cornstarch For Dusting pan and marshmallows
- 1/4 tsp salt
- 2 tsp Vanilla Paste Can swap for Vanilla Extract
Instructions
- 1) Wipe the bottom and sides of a square baking pan with oil (very lightly) and sprinkle arrowroot powder on top and set aside.
- 2) In the mixing bowl you are going to use, mix the gelatin and 1/2 cup of the cool water together. It takes about 15 mins to thicken up.
- 3) Put the remaining 1 cup of watered the 1 1/2 cups of sugar into a heavy saucepan over medium heat. Stir until the sugar has dissolved completely.
- 4) Place your candy thermometer into the sugar and water mixture, and when it reaches 260F, you will remove it from the heat and pour it into your gelatin mixture and use your stand mixer fitted with the whisk attachment.
- 5) Beat both on low for about 3 minutes to get it all combined. Then add in the vanilla bean paste and the salt. Then start turning up the speed to HIGH for about 10 minutes. The mixture will have DOUBLED in volume and be really fluffy.
- 6)Pour the combined mixture into the greased and powdered dish, spread it out evenly and dust with more of the arrowroot/cornstarch. They will need an hour of two to set up completely.
- 7) Once ready, slice into 16 squares and they can be stored in an airtight container for a few days. If you put them in the fridge they will harden up.